Your Reliable High Quality Wholesale Custom Clothing Manufacturers
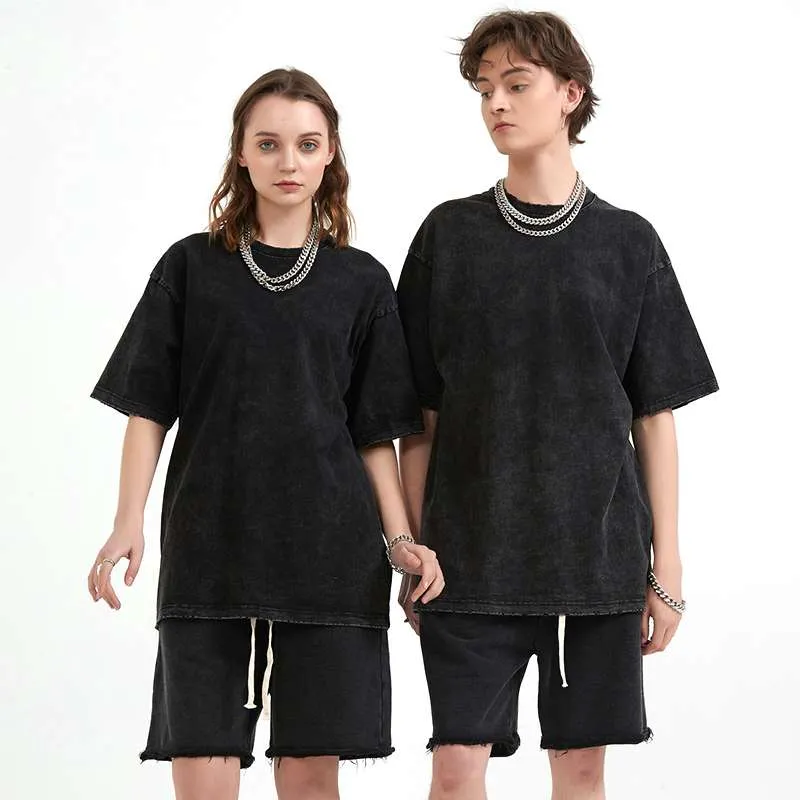
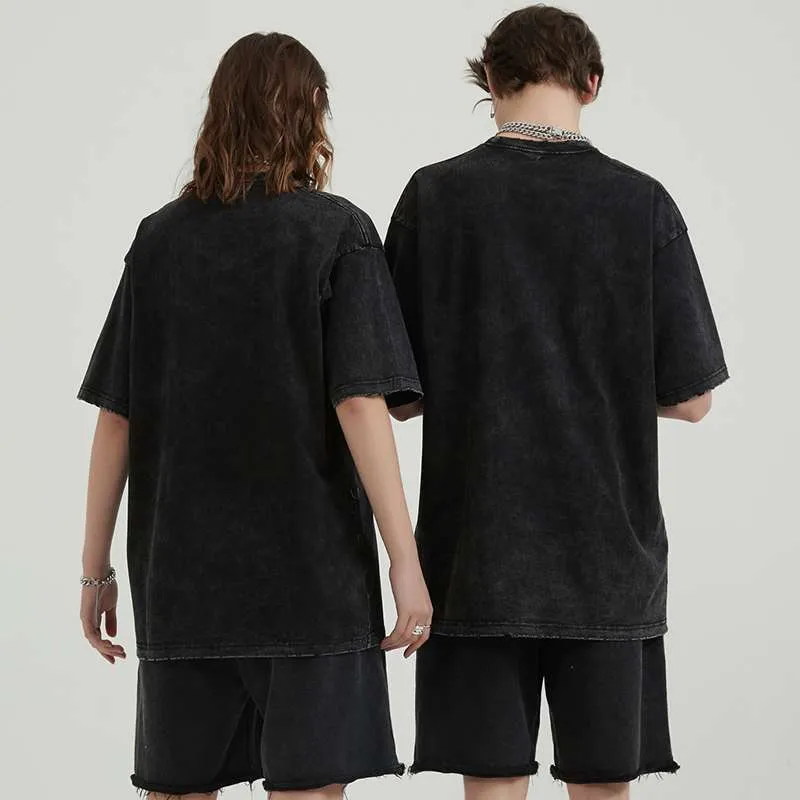
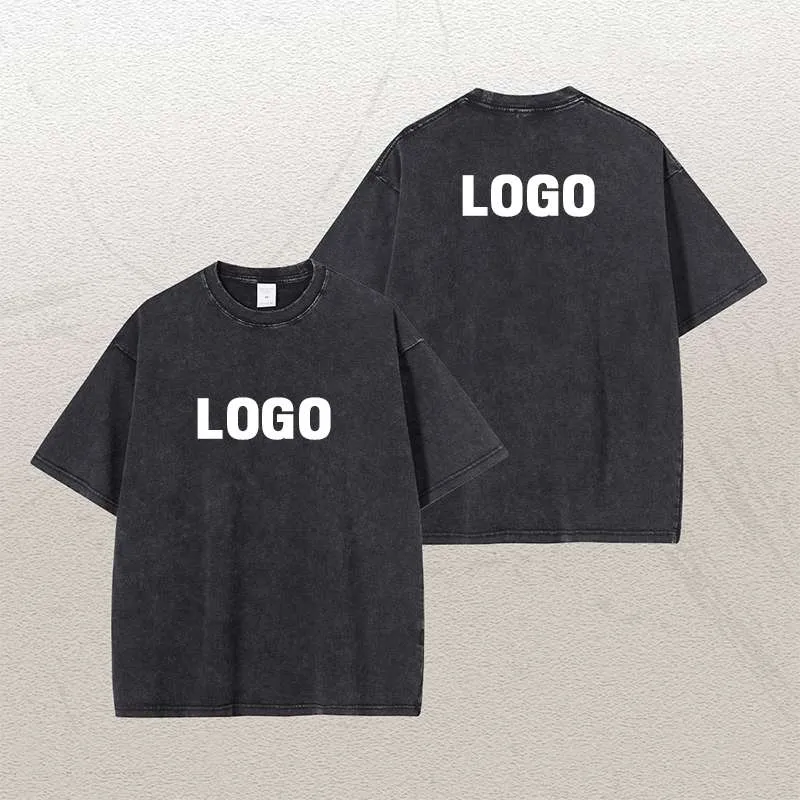
Wholesale custom logo distressed vintage tee shirt


PRODUCT PARAMETERS
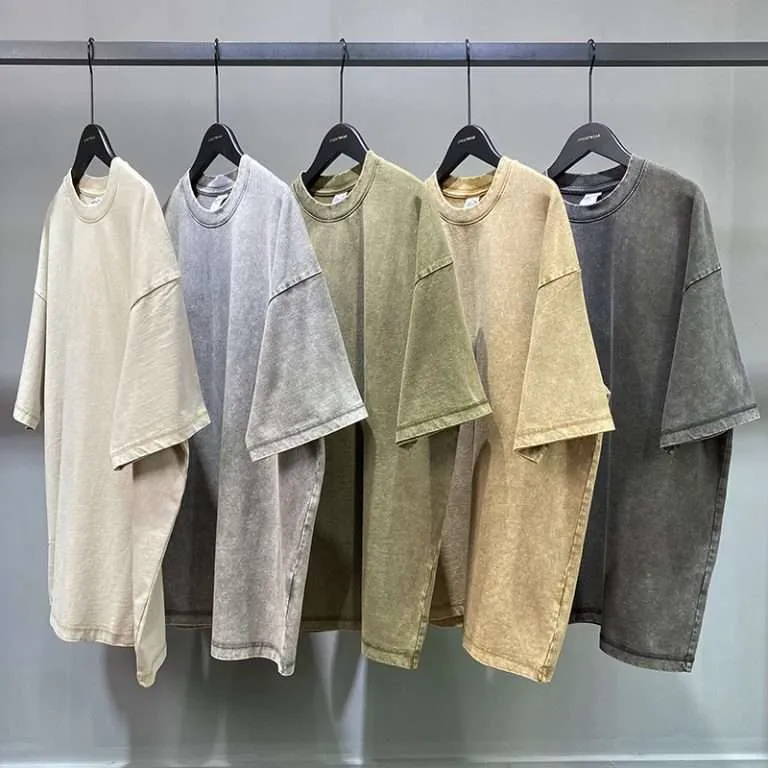
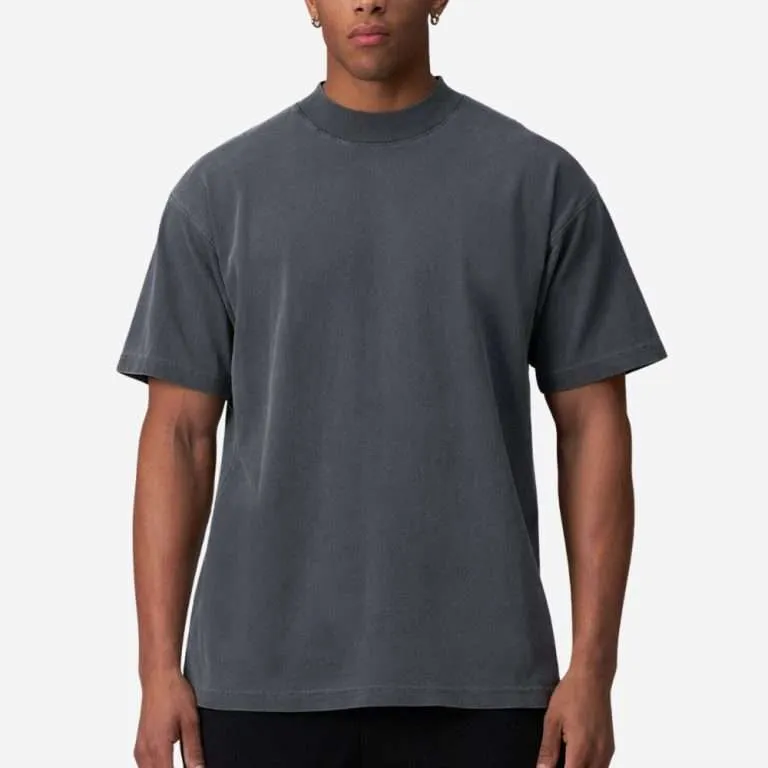
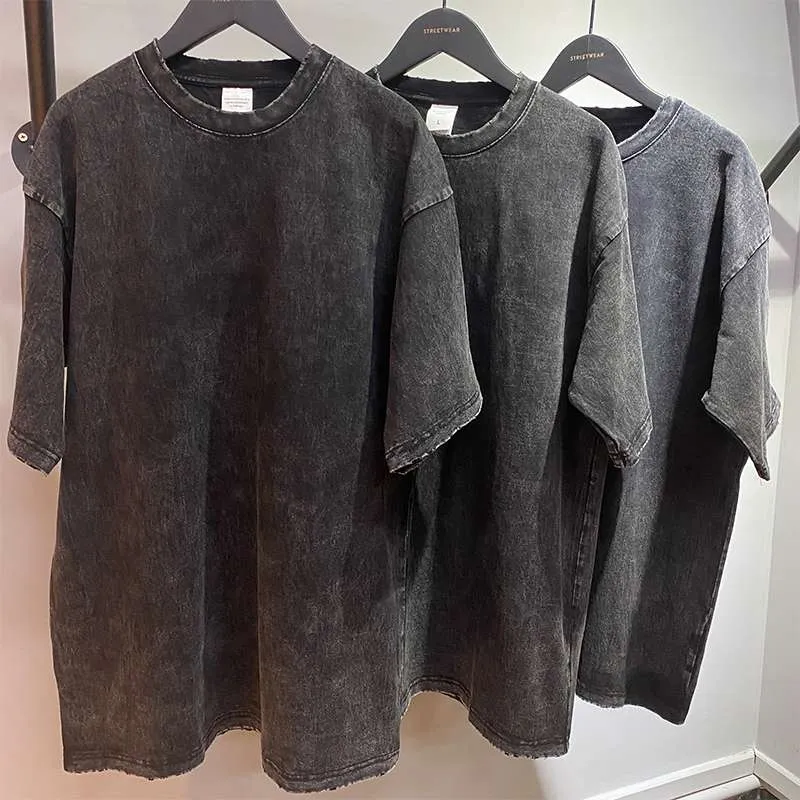
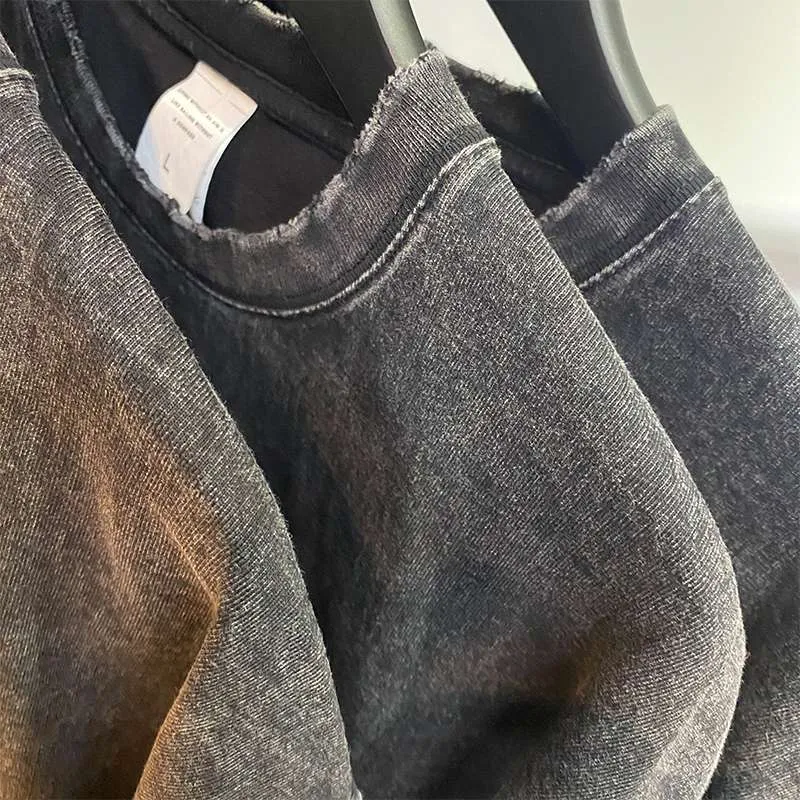
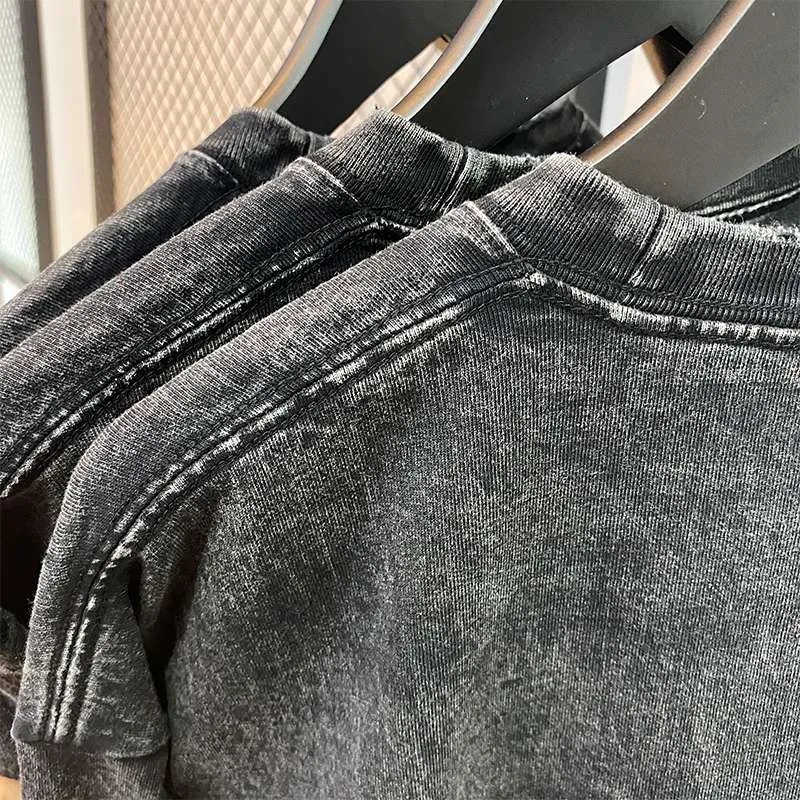
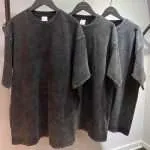
Vintage cotton distressed T-shirts combine retro charm with a modern, worn-in look. Made from soft, breathable cotton, these T-shirts are intentionally aged or “distressed” through techniques like fraying, fading, or hole creation, giving them a unique, lived-in feel.
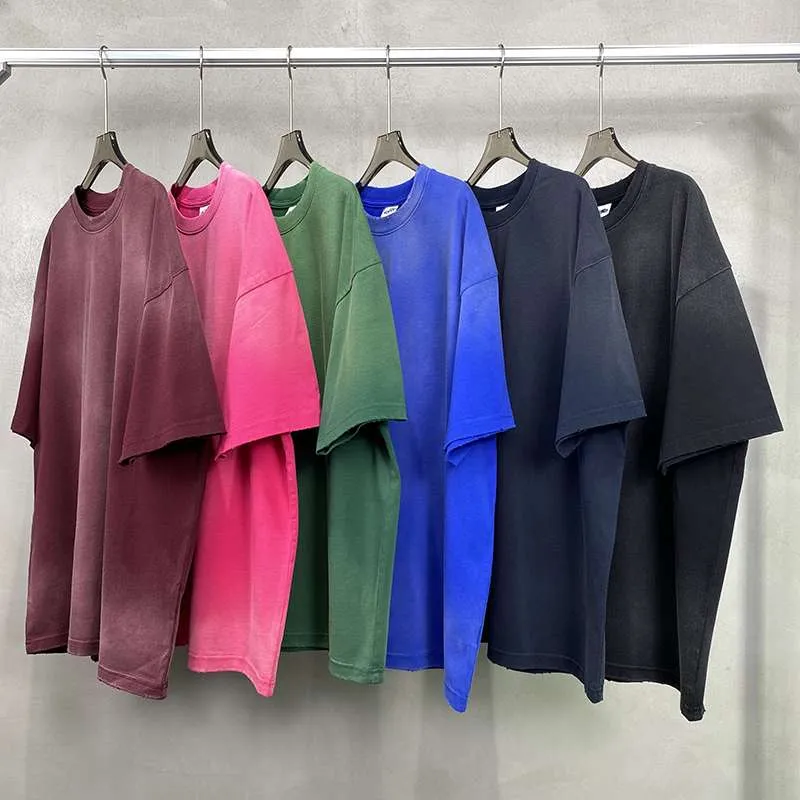
Vintage washing is a specialized textile treatment process used to create a worn-in, aged, or faded look on garments, often to mimic the appearance of clothing that has been worn for years. The technique involves various methods such as stone washing, enzyme washing, or acid washing to soften the fabric, lighten colors, and add a distressed or faded effect.
Creating 3D embossed prints on T-shirts involves a specialized printing process that adds a raised, textured effect to the design. This technique is perfect for making designs stand out with a tactile, premium look.
Steps to Make 3D Embossed Prints:
1. Design Creation
- Start by creating a design in a graphic software program like Adobe Illustrator or Photoshop.
- Ensure the design has defined areas where the embossing effect will appear (usually larger and bold designs work best for this).
2. Prepare the Mold or Plate
- For 3D embossing, you need a custom mold or plate with your design. This can be made from metal or silicone, depending on your needs.
- The mold is used to press the design into the fabric to create the raised texture.
3. Choose and Apply Puff Ink
- Use puff ink or a heat-sensitive ink. Puff ink is ideal for creating a 3D effect because it expands when heated.
- Screen print the puff ink onto the fabric where you want the raised design to appear.
- If you’re using a non-puff ink, you may need to add an additive to the ink to achieve the raised effect.
4. Curing the Design
- After applying the ink, cure it using a heat press or dryer to set the ink. The puff ink will expand during the curing process, creating the raised, textured effect.
- Be sure to control the temperature and timing to ensure the ink expands properly without damaging the fabric.
5. Embossing with Heat Press or Mold
- Place the T-shirt into a heat press, aligning it with the mold.
- Apply heat and pressure for the required amount of time to transfer the design onto the fabric. The mold creates the raised texture of the design.
- The heat press or embossing press should be carefully monitored to avoid overheating and to achieve a clean result.
6. Finishing Touches
- After pressing, allow the T-shirt to cool.
- Inspect the design for any inconsistencies and check the texture to ensure it has a uniform 3D effect.
- Make any necessary adjustments or reapply heat if needed.
7. Quality Check and Care Instructions
- Once the 3D embossed design is set, make sure to inspect the print for any imperfections.
- Provide proper washing instructions to maintain the longevity of the 3D effect (e.g., machine wash inside out on a gentle cycle).